You can quickly transform a small planter into a pretty décor item with just paint.
What do you do when you see the cutest mini planter in your favourite homeware store’s budget isle – but the colours don’t match your décor? You paint it, of course.
I came across this cutie on a shopping trip the other day. It was marked down, and although the yellow did not call out to me, I loved the texture. I knew that I could paint it while still keeping that lovely texture. This DIY is so easy, and mine even looks perfect for fall décor (even though we have spring right now).


Before we go further, please remember to follow me on Facebook, Pinterest, Instagram, Youtube and subscribe to my newsletter to make sure you never miss a post.
This post is also part of another Thrifty Thursday: Less is More post – where we show you a bunch of really great, budget-friendly way to decorate your home for less. Be sure to follow through to the links at the bottom of this post.
Step 1: Gather your supplies for painting your small planter
For this project, you will need the following:
- A planter of your choice
- Sanding Paper (I used 220 grit)
- Spray Primer
- Paint colours of your choice and paint brushes
Step 2: Sand and Prime your planter
I’ve seen this over and over again. When painting décor items or furniture, you can sometimes get away without using a primer, but sanding is a must. In this case, I decided to do both. I did not want any of the yellow paint to bleed through. So I opted for a spray primer with a stain blocker. I only sprayed one thin coat after sanding and cleaning the small planter.


Step 3: Paint your base colours
I wanted my planter to have an ombre effect rather than the sharp colour blocks it had before. I started by painting the top half a light grey and added a soft gold colour to the bottom half. At this stage, I decided that I did not like the colour contrast and painted the top half in a coral instead. This is the colour I used for my mini boho succulent planter.


Step 4: Add detail and depth
For the final step, I used gold spray paint. I sprayed in small bursts, focussing on the centre line that I wanted to soften. Finally, I also dry brushed some of the gold and then some of the coral paint, concentrating on the diagonal lines of the weave pattern.


And that is really how easy it is to paint a planter. This project takes minimal effort, and if you have paint in your stock-pile, it is almost free. Maybe shop your home first and see if there are any planters or ceramic items you can paint.


So don’t pass those budget-isle décor items up
I learned from this not to judge a book/planter/vase by its cover. It is so easy to transform any of these décor accessory items with paint. Either to give them more character or just to update the colours to suit your home and décor style.

Be sure to follow through to these posts:


- Jaclyn from One Thousand Oaks made a beautiful Corn Husk Wreath.
- Erin from Practical Whimsy Designs made these gorgeous copper-dipped pumpkins, perfect for your fall décor!
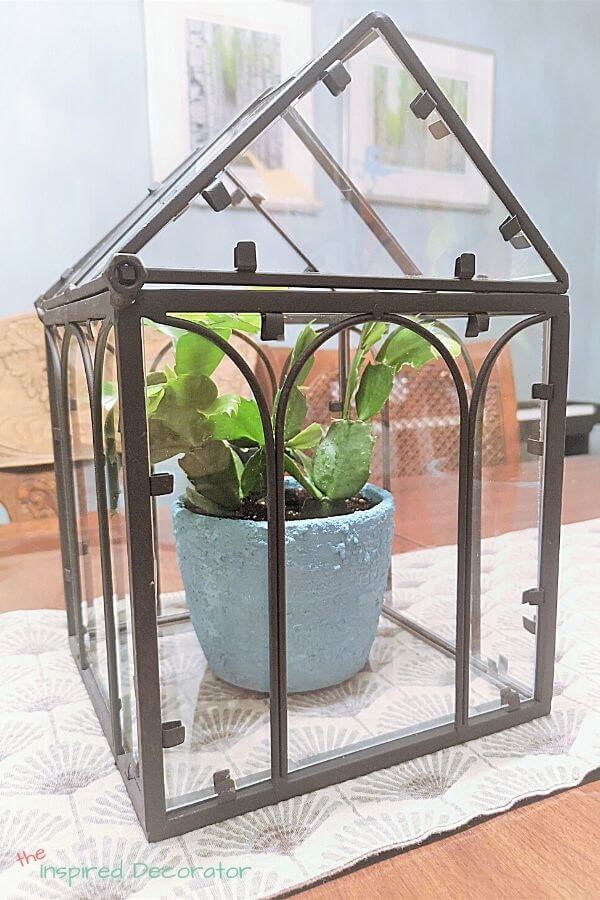

- Sara-Lynn from The Inspired Decorator used a cool technique to add texture to a vase, for a statement décor piece.
- And Martina from The Lived-in Look gave new life to a Vintage Firewood Holder.
To save this post for future, please pin it here:

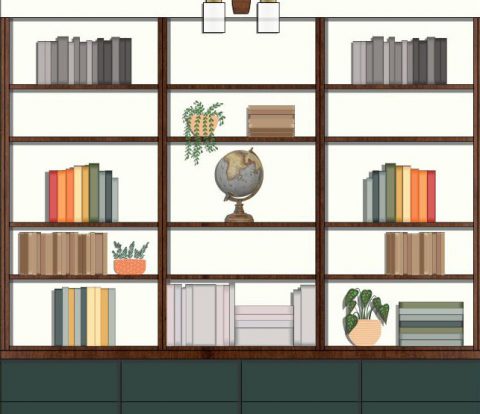
We are going away for a quick family trip, and I’m looking forward to it so much! I’ll be back for another post on October the 8th with my Home office Design Plan. Until then, take care!

7 Comments
Sara
It’s cute! I love the subtle two-tone look! Paint really is magical.
September 26, 2020 at 5:25 amJunette
Thank you, Sara. I love how we mostly do similar projects!
October 11, 2020 at 7:39 pmMartina
I love the colors you chose for this! Such a gorgeous ombre effect!
September 29, 2020 at 1:35 pmJunette
Thank you, Martina. I know you have a soft sport for ombré! 🙂
October 11, 2020 at 7:38 pmElizabeth
I love how you use paint to transform items into what you love. Love the planter too!
October 3, 2020 at 5:09 pmJunette
Thanks, Elizabeth. I’ll paint anything if it stands still long enough. 😉
October 11, 2020 at 7:38 pmErin
This turned out so nice. I definitely like it a lot better now that it is not quite so in your face yellow. Great job!
October 14, 2020 at 10:57 pm