How we updated our Home Office Furniture on a budget and what we will take off our to-do-list.
I can’t believe we are already in week 4 of the One Room Challenge. It’s been a rough couple of weeks, and we still have a lot of work to do. But when I take a step back, I realise how far we’ve come.

We are really ready for this room renovation to be done now, though. Whenever we do DIY projects, the rest of the home is in chaos. It always gets worse before it gets better, but I still do some purging in this phase too, so I know it will get better. My perfectionistic self is just having some difficulty with the chaos right now. This week, I will show you how we’ve updated some pieces of furniture and why.
Why we decided to update most of our furniture instead of buying a new furniture set for our home office.
We could have bought entirely new furniture for our home office. I see this trend a lot recently, where people tend to buy all new instead of working with what they already have. But we decided to keep our office furniture and just do some updates where necessary.
You see, it was not in our budget to buy a lot of new items. The bulk of our budget went into the floors and built-in shelving. Another reason is that we have a good quality desk, and the furniture nowadays just can’t compete with a solid wooden desk. We also did not buy all new furniture, because what do you do with the old pieces. I hate selling stuff online – and I’m not very successful with it either. I would instead donate or pass items on to family members who can put it to good use. So I don’t make an income out of the old pieces of furniture, and therefore prefer not to buy too many new items. Lastly, because I just love to breathe new life into old furniture!
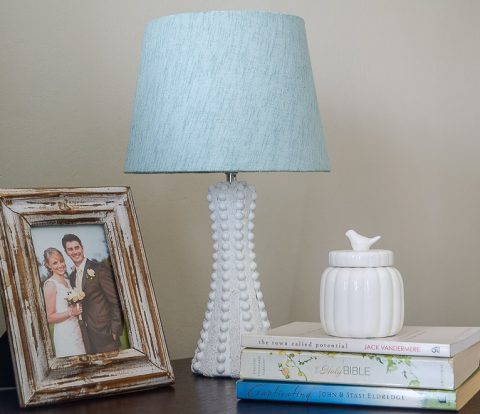
We moved out a desk, a chair, a chest of drawers and a bookshelf. The latter two found a new place in our home. The desk and the chair moved on to my sister – so it is a win-win in my books.
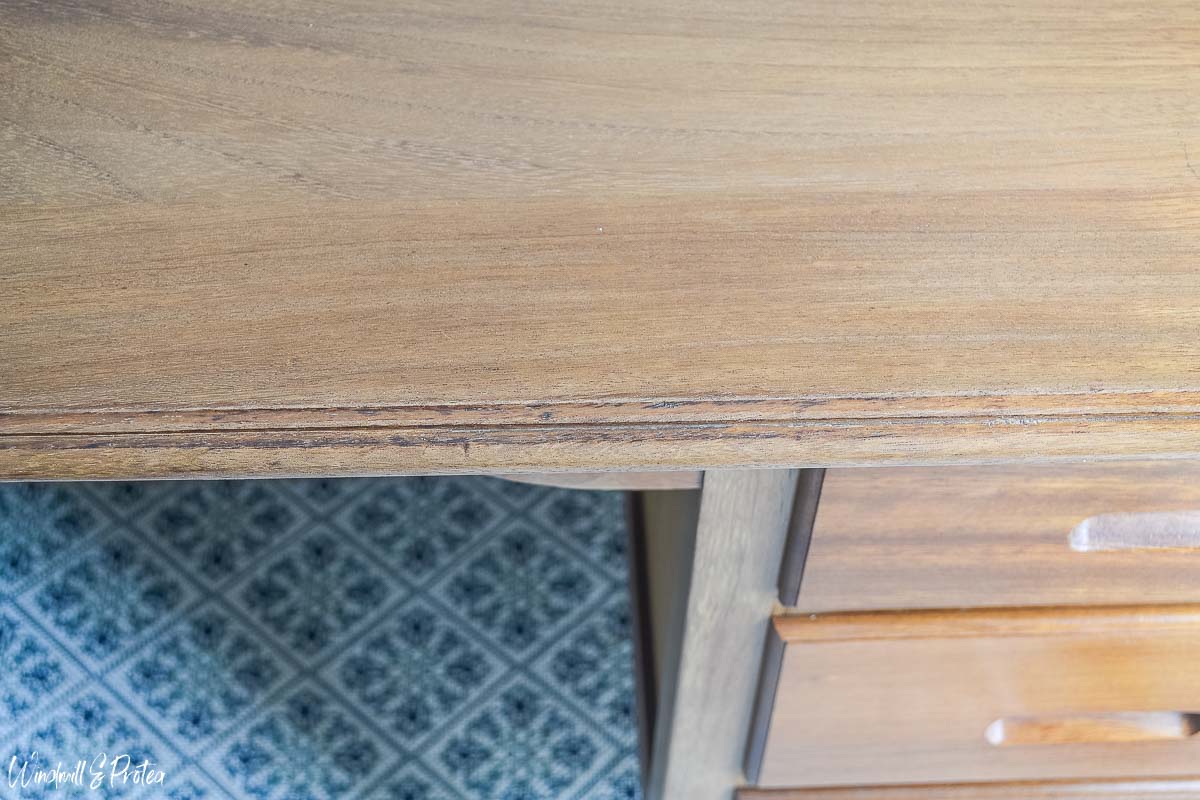
Nothing beats a solid wooden desk
We bought this desk a couple of years ago at an auction at my work. They sell old redundant office furniture a couple of times every year so that you can get excellent office furniture there. I’ve transformed a couple of pieces I’ve found over the years and now use them everywhere in our home. Take a look at this cabinet, this big-boy camouflage desk, this industrial style side table, this toy cupboard and this toy chest that I also snagged there.
We got this desk at a steal of a price, and you can’t even get a modern flat-pack type desk for the price that we got this beauty. All we needed to do with this desk was sand the top and give it a new coat of varnish.

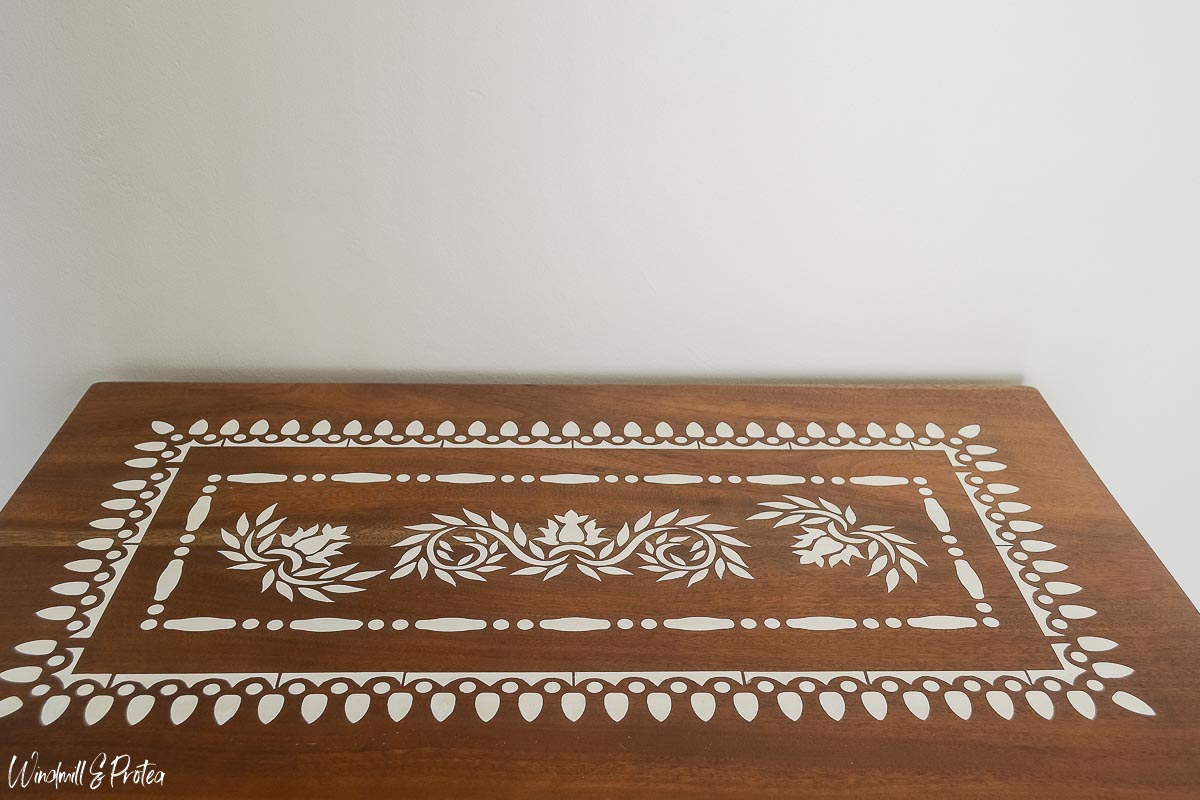
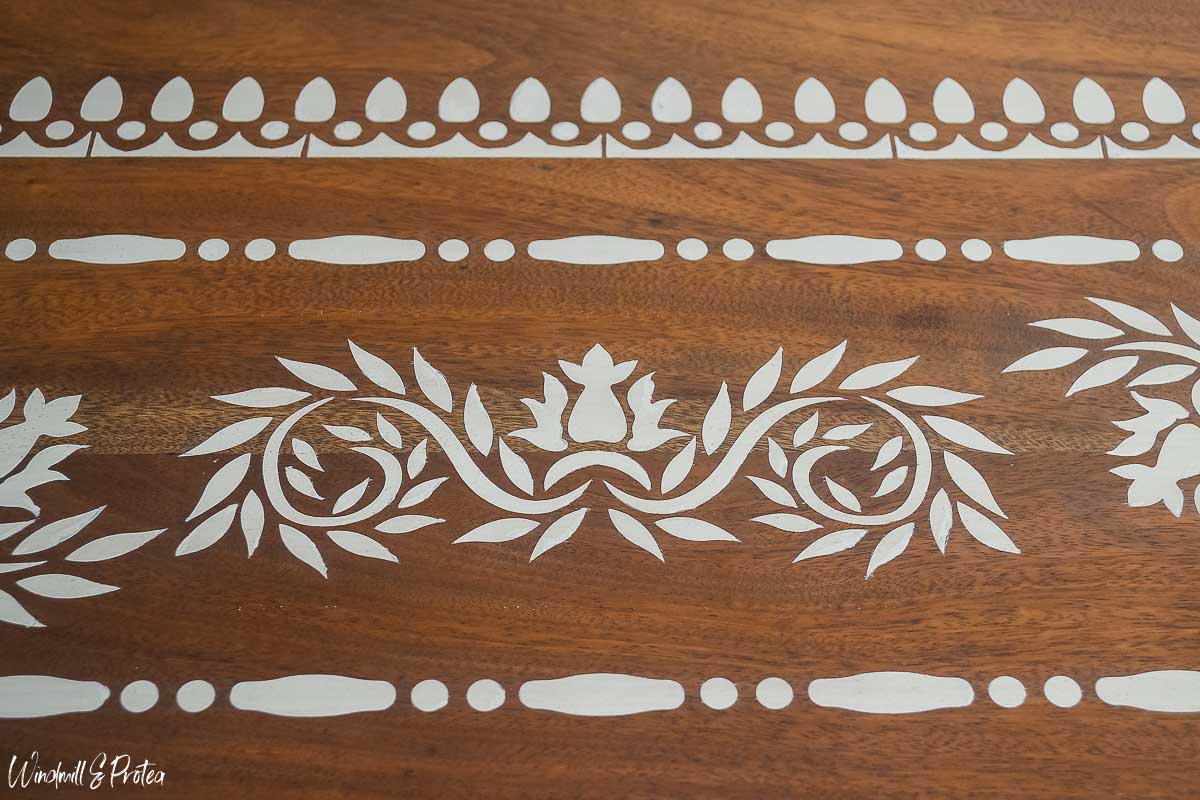
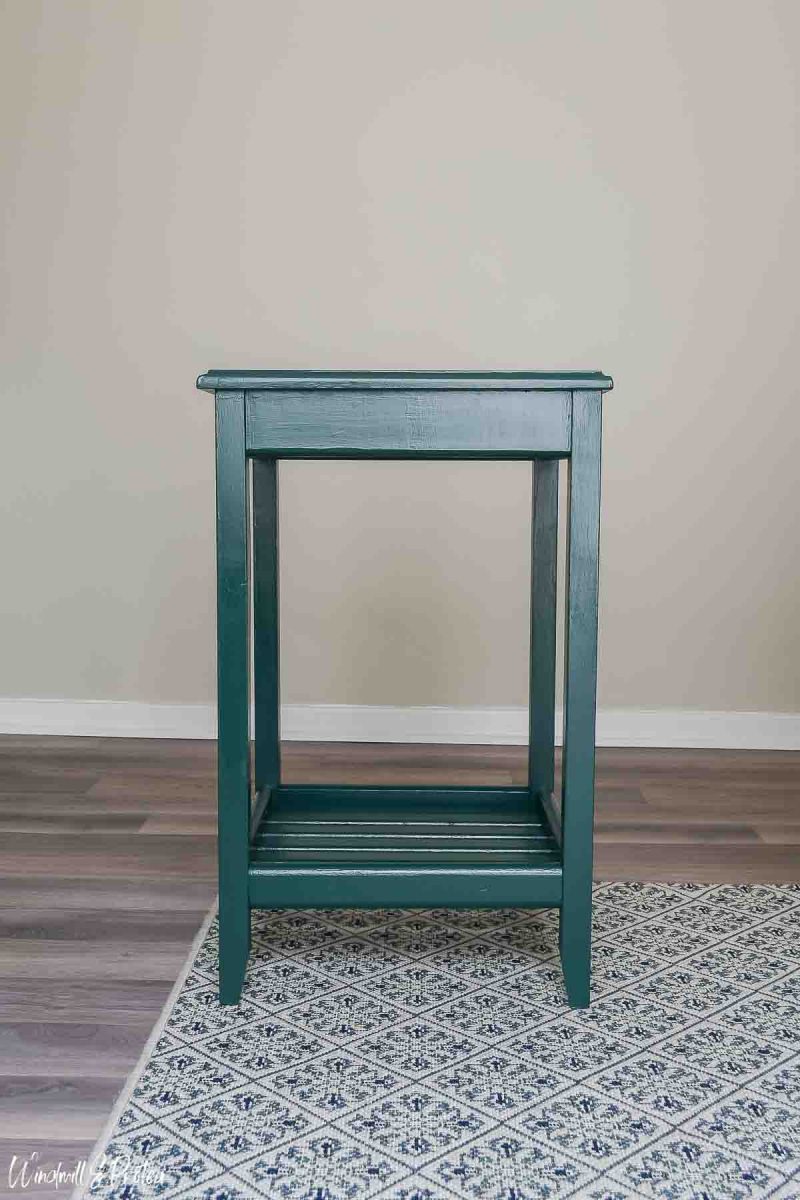
Side Table Bone-inlay Makeover
I also bought this sad side table at my work. I think I paid R50 for it – that would be about $3. It stood just outside our front door for a couple of years. There, it only accumulated more water damage to the top because of a leaky pot-plant holder.

I always envisioned a bone-inlay stencil on the top and keeping it simple for the rest, and that is just what I did. Marinus sanded the table for me – removing all of those water damage rings to the top and damage to the legs. I had some stencils leftover from this faux bone-inlay chest. And I managed to rearrange the patterns a bit to accommodate the larger size of this table. I used the same method as with the toy chest, so be sure to look at that tutorial. I also sealed the table with two (the top got three) coats of a clear furniture varnish.

What will we use this side table for?
I’m including this table in the office for two reasons. I will add a letter tray to it so that it will function as the drop-off zone for bills and paperwork. I hope that this will keep the paperwork off the desk to help minimise clutter. Secondly, because if we both need to work from home again, it will act as a second workstation. It is relatively small, but sufficient for a laptop and the perfect height.
I’m adding a printing station.
The once piece of new furniture that I did buy is this side table. It is actually a bedside table, but it was just the perfect size. Our wifi router is in this room, and I desperately wanted to keep it, as well as the printer off the desk.
We’ve had a lot of trouble with clutter on our desks previously, and I’m hoping that with keeping some of these items off the desk, it will help to minimise clutter. Because if a space is cluttered to start with, it attracts more. And before you know it, the situation is out of control. Our Wifi router will stand on the slats at the bottom and the printer on top. It will still be within easy reach of the desk.
I bought this table in raw pine and painted it with Plascon Velvaglo in the colour Monsoon Lagoon. I’ll also use this same colour for the cabinet doors of the built-in unit.

What will we do with our Office Chair, and what other projects will I take off the list?
I planned on reupholstering the back of our office chair. It is a very comfortable chair in an excellent condition, but it has a purple backrest, not exactly suiting the new style of the room. I did buy fabric for this, but I’m beginning to question my choice. I’m also running out of time, so instead of putting myself under more pressure, I’m taking it off the list. I will probably photograph the room reveal with one of our dining room chairs and update this chair later on when I have more time on my hands.
I’m also cutting a few others. I wanted to experiment with painting horizontal lines on the door to add interest. But there is just no time for it now. I have the feeling that I might add moulding to the door instead. But I’ll write a post about that probably early next year.
I also realised that the curtains that were the inspiration to the room’s colour scheme do not work for the room anymore. The pattern is too busy. Although I love the design and the fact that they used to be my Grandmother’s, I will have to replace them. It was a sad realisation, but I get the feeling that my sister will place dibs on them when she reads this post, so they’ll stay in the family. But buying new curtains is not in the budget right now either. So I will photograph the room with some of my dining room curtains that are a much better fit for the office. I will then update the curtains when the budget allows.

How do I feel about our overall progress in the room?
Overall things are starting to look good, but we still have a lot to do. The built-in unit is taking a bit longer than we anticipated. But I hope to have it done by the end of next week. This room has seen such a significant transformation in a short space of time, and we are proud of ourselves with what we have already accomplished.
Completed Projects:
- We needed to improve the overall layout to make the room feel more spacious, yet still have enough storage in the room. I’ve shared our plans in the design plan post.
- We needed to update the main finishes. A couple of weeks ago, we installed new sheet vinyl floors, painted the walls and painted the door.
- We desperately needed to upgrade the lighting. We’ve done this already. I can happily report back that it is now a treat to use this room in the evenings.
- DIY home office furniture updates – done!
Projects we still need to complete:
- We are still busy building the shelving unit, and I hope to post about it next week.
- I’ve received my prints for the large-scale wall art but still need to build frames for them.
- I need to style the shelves. Although I’m looking forward to this step, it is also a bit daunting as I’ve never decorated a bookshelf this big before. But this will be the final step in the room renovation, and it will be so much fun to put on the finishing touches!

Conclusion
I think there is still a lot of room to work with what you have, especially for home office furniture. I’m thrilled with our choices for this office, and I’m very happy that we are even closer to finishing this project. Until next week, take care!